Four Months of Wanderlust: Early Lessons
- Last updated:
- Category:
- Hiking
- Reading time:
- ~9 min
Four months ago, I started my journey into hiking. Even though I have only published two hiking logs so far (which you can read here and here), my wanderlust pushed me to do many more hikes. According to the activities I tracked with my GPS, I have already covered 181 kilometres, with 2,810 metres of ascent and 2,800 metres of descent, across about 28 different trails.
During these hikes, I reflected on my journey and on some of the early lessons I have already learned and want to share. Take them with a grain of salt, as I am still a beginner myself.
So far, I have only done circular trails that I could finish in an afternoon. The longest one was about 11 kilometres. I mostly hiked alone and did not take any long breaks, such as stopping to cook on the trail.
Lesson No. 1: Just do it #
Just start doing it. Getting into hiking is, at least in part, about building the habit of doing it regularly. You do not need to start with long hikes. Start with small walks around your neighbourhood and explore the little hidden corners nearby. Go to the nearest park and walk a circular route there.
The same applies to duration. Start with short 30–60-minute evening walks in summer. You do not need to begin with multi-hour hikes. Starting small helps you get your body used to walking regularly, and it also helps you learn your limits. If you have the luxury or opportunity to walk to work, do it. Every kilometre walked helps you along your journey.
Start with the gear you already have at home. As some photographers say: “The best camera is the one you have with you.” Use the walking or training shoes you already own. Use the backpack you already have. Hiking is about doing the hike, not about the gear — although I will come back to gear later.
Lesson No. 2: Leave the headphones at home #
On my first 11 hikes, I took my headphones with me to listen to podcasts. I thought that, since I also wanted to listen to more podcasts, hiking would be a good opportunity to combine both activities. But the more I hiked, the more I noticed that either the podcast I was listening to distracted me from the hike or I did not really listen to it at all and it became little more than background noise.
The question I asked myself was: Why do I go hiking? My original reason was quite simple. Last year, I started swimming regularly for health reasons. During the summer, however, I noticed that my local swimming pool was, of course, much busier — too busy for my taste. So I looked for something else to do in this summer that would allow me to go to the swimming pool a little less often while still getting some exercise.
During my first hikes, I noticed the benefits of being in nature for my mental well-being, and this became my new main reason for hiking. I go hiking to calm down. I go hiking to enjoy nature and take in the fresh air. I go hiking to get away from civilisation — even though here in Luxembourg, civilisation is never far away — to get out of my home and do something different.
To fully embrace this, I now leave my headphones at home, and I would advise other hikers to do the same. Without them, I can better enjoy the calm of being in the woods. There are also some safety benefits: I can hear falling branches or, when hiking on paths shared with cyclists, hear bicycles approaching from behind.
Lesson No. 3: Some gear is necessary #
After I started hiking more regularly, the question of gear naturally came up. Here are some of the lessons I have learned about hiking gear.
Hiking shoes #
Good hiking shoes are probably the most important investment you can make if you hike regularly. There are, of course, different types of hiking shoes, ranging from trail shoes and trail hikers to mountain walking or hiking boots (according to Wikipedia).
I will not give a concrete recommendation for a specific model. What I can recommend, however, is going to your local outdoor, hiking or adventure store and getting expert advice and a proper fitting. They can guide you towards a shoe that suits your needs. Some shops also offer online questionnaires that might already point you in the right direction.
Going to a local shop has the advantage that you can try the shoes on and see whether they fit comfortably. Outdoor shops also often have more appropriate test surfaces, such as inclines or rocky terrain, than regular shoe shops.
A local shop might also offer additional after-sales services, such as care, cleaning and repair services. These are sometimes only available if you bought the shoes there and/or have a customer account with the shop.
Water supply #
This gear item really depends on how you hike. As already mentioned in my first hiking log, I find it very inconvenient to take off my backpack every time I want to reach my water bottle. This is why I bought a water bladder with a drinking tube that I can put in my backpack, with the tube attached to the shoulder strap so that it is always within reach. Of course, if you are the kind of hiker who likes to take sit-down breaks, this might not be the best option for you.
Another question to ask yourself is what capacity your water bladder, or other water container of your choice, should have. I think you should choose a size slightly larger than you think you will need, while still leaving enough room for your other gear. I personally went with a 3-litre water bladder.
Interestingly, after only two months, its bite valve broke in several ways. Lesson learned: buy replacement parts for your gear and have them ready when you need them.
Clothes #
After shoes, good outdoor clothing is probably the next big upgrade. To manage your budget better, you do not need to buy a complete set all at once; you can spread the purchases out over time. Start with the things you think you need most. For me, that meant buying outdoor shirts and a jacket that are breathable and allow moisture to escape.
This may be controversial, but I used LLMs to give me different suggestions. Because I was very unsure and felt a little lost about where to start, I first prompted my LLM of choice to ask me questions in order to narrow down what I would need and prefer. It asked me 56 different questions. Based on the answers I gave, I then prompted it to give me multiple suggestions, preferably from different vendors, and to compare them.
This might, of course, not be your preferred method, and you may prefer going to a specialised outdoor shop instead.
Handheld GPS #
Carrying an extra device for GPS navigation might seem counter-intuitive in a world where smartphones are so ubiquitous. But I still think that a separate handheld GPS device can be a valuable tool when hiking.
First of all, handheld GPS devices have, in my experience, provided more reliable positioning. Most modern devices support multiple global navigation satellite systems (GNSS), such as GPS, Galileo, GLONASS and BeiDou. Rather than relying on a single system, they can use signals from several of them when determining your position.
Secondly, the battery life of these devices is usually much better suited to long periods of navigation than that of a smartphone. They are purpose-built for this task, whereas a smartphone has to power its display, mobile connections, apps and many other functions at the same time. Using a dedicated device also means that I do not have to drain the battery of the phone that I may still need for other purposes.
Trekking poles #
While watching some videos about hiking, I came across trekking poles. At first, I thought they were probably not for me. I had owned some in the past but never really used them, and I associated them more with Nordic walking than with hiking. But after reading more about them, I decided to give them a try.
There are, of course, different styles of trekking poles, from very lightweight carbon-fibre models to sturdier and heavier aluminium ones. Some have a fixed length, while others are adjustable, and there are different adjustment mechanisms. For my purposes, I chose adjustable aluminium poles with cork handles.
Trekking poles are, of course, a matter of personal preference, and you do not necessarily need to use two; you can also use just one. Over the few hikes on which I have used them so far, I have really come to like mine, and I can already feel their benefits, especially on more demanding terrain.
Lesson No. 4: Take care of your gear #
After getting your gear, I think it is important to read up on the care instructions. Sadly, we live in a society built around a lot of consumption, and I think taking proper care of your gear can help make it last longer.
For example, some outdoor clothing should not be tumble-dried and/or should be dried flat. Depending on the type of adjustable trekking poles you have, they should also be stored without tightening the adjustment mechanisms, meaning they should be left loose.
I also think it is useful to keep some cleaning gear, such as brushes, ready in the car so that you can at least remove the coarse dirt from your shoes. I can also recommend keeping a canister of water in the car for cleaning your gear.
For this, I use a simple 5-litre canister filled with water from my tumble dryer and, of course, clearly marked as non-potable. It is more than sufficient for washing grime off your gear.
Lesson No. 5: Know the weather and location #
During the summer, I wanted to do the Traumschleife Wein- und Naturpfad Palmberg-Ahn, a trail through the vineyards. What I had not taken into consideration was the combination of weather and location. As this was my first hike through vineyards, I had not really thought about the fact that, although it seems obvious in hindsight, they are of course exposed to the sun. I had sun protection with me, but large parts of the trail were in direct sunlight, so it became quite hot very quickly.
Besides that, when I arrived at the starting point, my handheld GPS did not get a satellite fix, and I never got one during the hike. Somehow, I had also put the insole into one of my shoes the wrong way around. So I abandoned the trail after about 2.5 kilometres.
The lesson here is that the combination of weather and location is one of the factors you need to plan for. Another lesson is that, if something does not feel right, you should stop the hike, turn back and try again another time. I am not hiking as part of a sporting competition; it is supposed to be fun.
Lesson No. 6: Record the experiences you have #
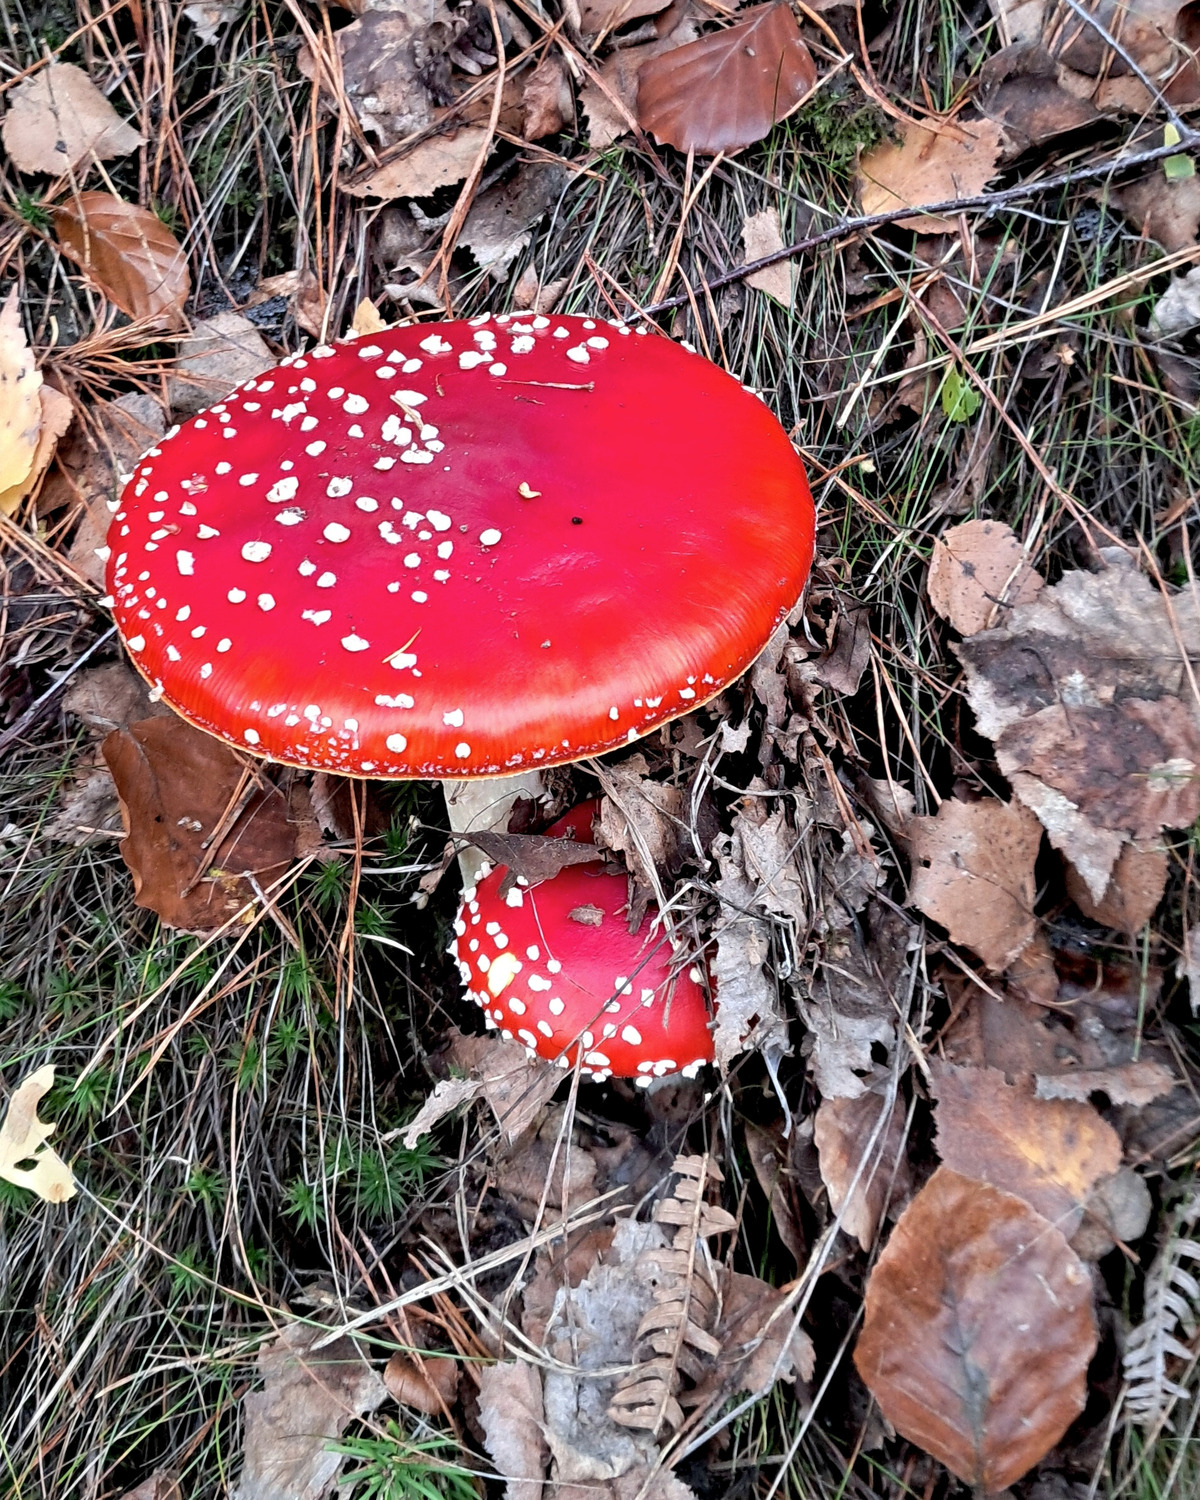
A splash of red on the autumn forest floor. 🍄🍂 Found it during one of my last hikes.
What I had not expected to interest me so much during my hikes was their educational aspect. Many of the trails I have done also have interesting information panels on different topics, ranging from flora and fauna to the history of the region and even art, such as poems displayed on plaques. It is interesting how much one does not know about the neighbourhood one lives in.
I was never someone who took a lot of photographs, but during my first hikes, I came across a few scenic views, which encouraged me to take more photographs along the way. It is easy to forget things, and by recording them, I can make the experience last longer.
Now, when I plan my routes, I deliberately add waypoints to my GPS for marked viewpoints and sometimes even adjust the route so that I pass by them.
Wanderlust, still unsated #
These are only my first lessons after four months of hiking, and I am sure some of them will change as I gain more experience. For now, though, the most important thing I have learned is that hiking does not have to be complicated. Start walking, find out what works for you, learn from the things that do not, and enjoy being outside.
My wanderlust certainly has not disappeared yet, so there will be plenty more opportunities to learn.